When you create a reference Image it will in most cases it will be updated with patches and some more patches and then some… That will make the image bigger and therefore the deployment of that image will take longer and consume more network resources. That can be corrected by getting rid of superseded patches, junk, temp files and much more. MDT does take care of much using the wimscript.ini during the capture process, but not all, not the old updates among other things.
The Solution
Since MDT is the preferred method to create reference images you can download the script, import it as an application and then run the application just before the Sysprep and Capture step. The Script works for the following versions of Windows:
- Windows 7 SP1
- Windows 8
- Windows 8.1 Update
- Windows Server 2008 2 SP1
- Windows Server 2012
- Windows Server 2012 R2
However, to make this work in Windows 7 and Windows Server 2008 R2 you need to add a hotfix to Packages in MDT. http://support.microsoft.com/kb/2852386
The script will use clenmgr.exe in all client versions of Windows. In Windows Server 2008 R2 it also uses clenmgr.exe, but it is never installed, instead it is copied from the SXS folder, that way we don’t need to install Desktop Experience. On Windows 8 and Server 2012 the script also runs the dism /online /clenup-image /startcomponentclenup and on 8.1 and server 2012 R2 the script adds the /Resetbase to make it impossible to remove patches.
Step By Step (kind of)
Download the script
Download the script from here http://1drv.ms/ThvLFE
Import it in MDT
Open the Deployment Workbench and browse to the Application node and import the folder you downloaded, giver it a name and as command line you type:
cscript.exe Action-CleanupBeforeSysprep.wsf
Modify the Task Sequence
Open your task sequence and before the Sysprep and capture step, something like this works fine.
Add the HotFix (only for Windows 7 SP1 and Windows Server 2008 R2)
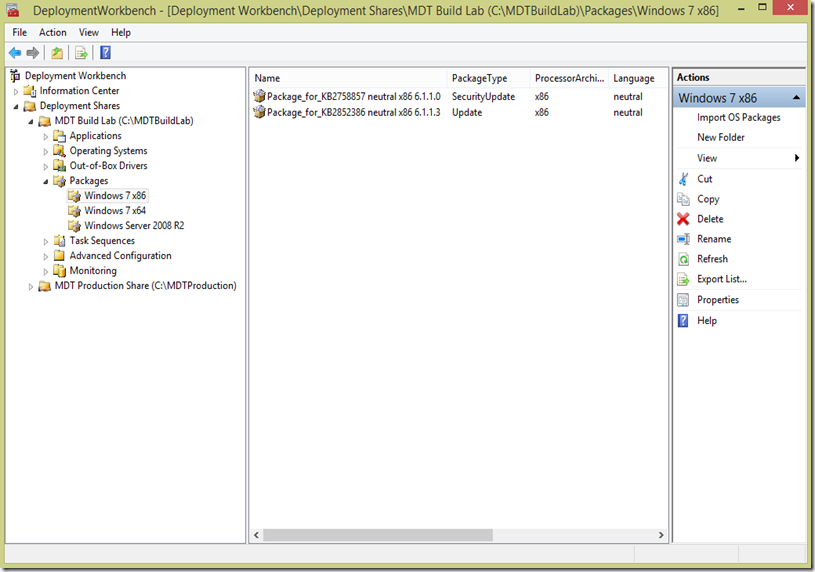
You need to add the patches in the deployment workbench. If you would like the deployment of the reference image to a bit faster, create three folders put the correct patch in each folder and then create corresponding Selection Profiles and modify the Task Sequence to use them. You download the update here http://support.microsoft.com/kb/2852386
Here you can see the patches imported in the Deployment Workbench.
Here you can see the Selection Profiles and the selection in one of them.
Here you can see how the modification in the Task Sequence.

The Task Sequence modification to inject the the correct patch to the correct OS.
/mike


